
Table of Contents
Introduction
A CNC probe that fails to trigger can interrupt an otherwise stable machining process. The machine moves to the surface, the stylus touches the part, and the control waits for a signal that never arrives. At that point, the cycle stops, offsets are not updated, and the operator has to intervene.
This situation is common in shops where the CNC probe is used frequently for tool setting, workpiece alignment, and in-process measurement. The more often probing cycles run, the more noticeable small reliability issues become. A loose connection, minor contamination, or signal noise may not cause problems immediately, but over time they lead to inconsistent triggering.
This guide focuses on practical troubleshooting steps. Instead of general advice, it walks through the most common reasons a CNC probe is not triggering and explains how to resolve them in a production environment.
How a CNC Probe Triggers
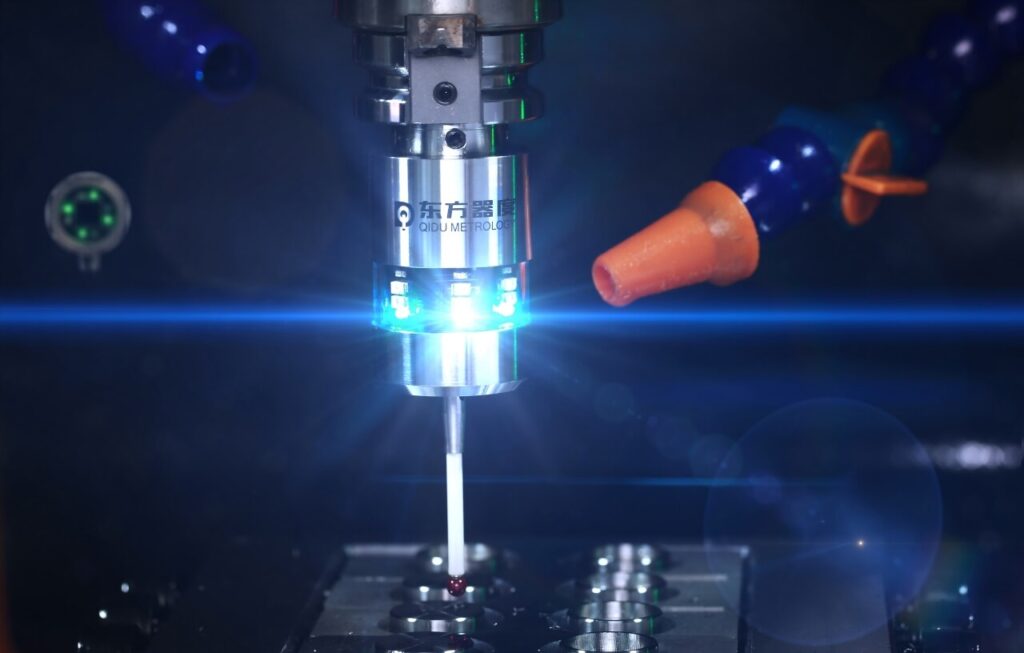
Before troubleshooting, it helps to understand what happens during a probing cycle. When the stylus contacts a surface, the internal mechanism moves slightly. That movement generates a trigger signal, which is sent to the CNC control. The control then records the position and stops the probing motion.
If any part of this chain fails, the CNC probe will not trigger. The stylus may not move freely, the signal may not reach the control, or the control may not recognize the input. Because several components are involved, the problem is not always obvious at first glance.
In high-frequency machining, the probe repeats this process constantly. Tool setting routines, part alignment, and measurement cycles all rely on consistent triggering. Even a small delay or missed signal can cause errors.
Common Reasons a CNC Probe Is Not Triggering
When a CNC probe is not triggering, the cause usually falls into one of the following areas.
Mechanical restriction is one of the most common. Chips, coolant residue, or fine dust can collect around the stylus seat. This prevents the probe from moving properly when it touches the part.
Stylus damage is another frequent issue. A slightly bent stylus may still appear usable, but the trigger point becomes inconsistent. This often happens after a minor collision.
Electrical signal problems also occur. A damaged cable, loose connector, or weak wireless signal can prevent the trigger from reaching the control.
Parameter or macro errors should also be considered. The probe may be working correctly, but the machine may not be reading the correct input signal.
Environmental factors sometimes play a role as well. Heavy vibration, electrical interference, or coolant contamination can all affect probe performance.
Step 1: Inspect and Clean the CNC Probe
The first step is always a visual inspection. Many triggering issues are caused by contamination rather than hardware failure.
Remove the probe if possible and check the stylus carefully. Look for chips, dried coolant, or dirt around the contact area. Even a small particle can interfere with movement.
Use clean compressed air to remove loose debris. Wipe the probe body with a lint-free cloth. If residue is present, use alcohol sparingly to clean the surface. Avoid pushing the stylus sideways while cleaning.
After reinstalling the probe, test it manually. In many cases, cleaning restores normal triggering immediately.
Step 2: Check the Stylus and Mechanical Movement
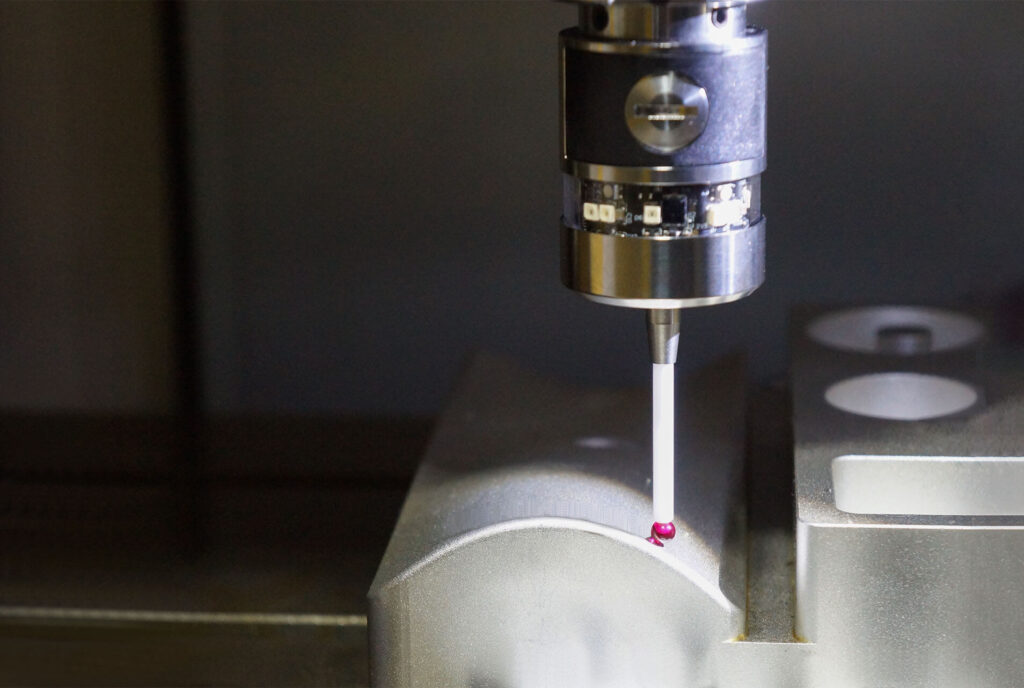
If cleaning does not help, examine the stylus more closely. Confirm that it is straight and securely mounted. A loose stylus can create inconsistent signals.
Gently deflect the stylus by hand. It should move smoothly and return to its original position. Any sticking or uneven movement indicates a mechanical issue.
If the stylus has been in use for a long time, replacing it may solve the problem. Stylus wear is gradual, and performance often degrades before visible damage appears.
Step 3: Verify Cable and Signal Connections
If the probe still does not trigger, check the signal path. For wired CNC probes, inspect the cable from the probe to the interface or controller. Look for damaged insulation, loose connectors, or bent pins.
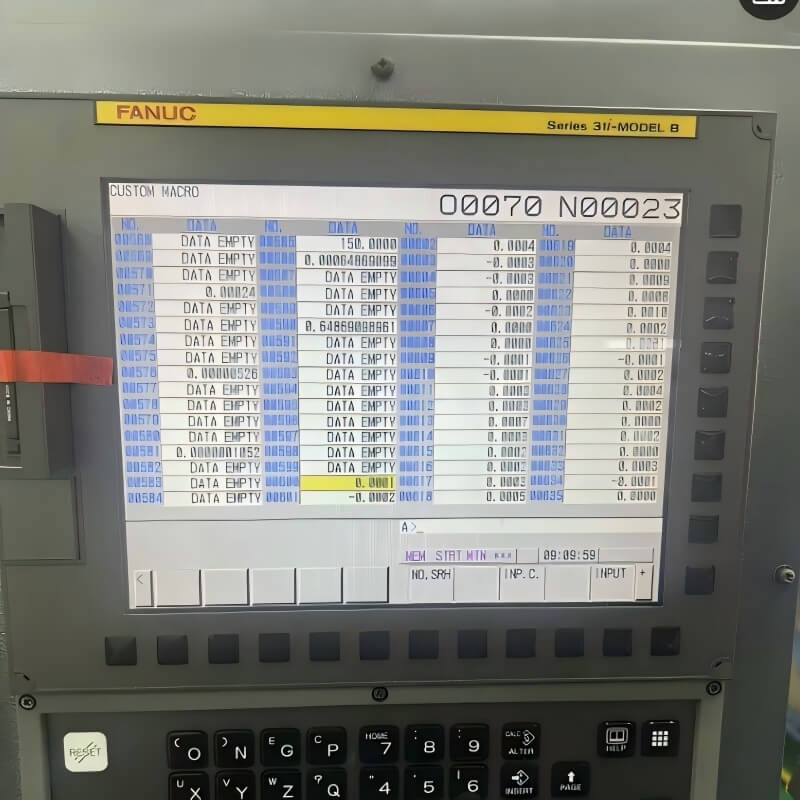
Use the machine diagnostic screen to monitor the probe input. Manually trigger the stylus and observe whether the input changes. If there is no response, the issue is likely in the wiring or interface.
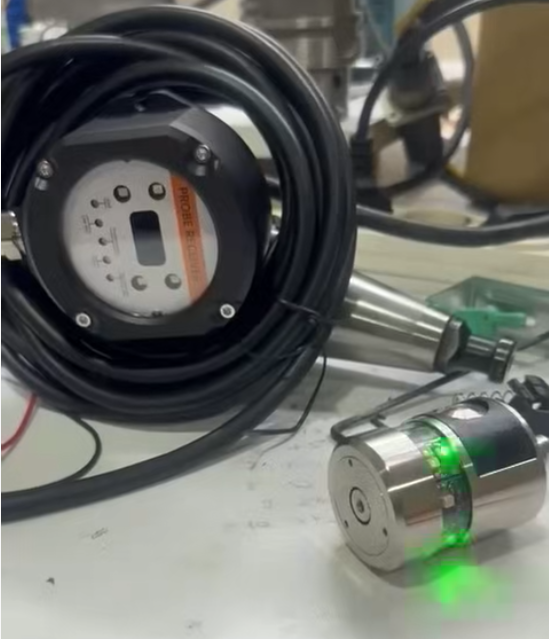
For wireless probes, check the battery and receiver alignment. Low battery voltage can reduce signal strength and cause intermittent triggering.
Also confirm that the receiver is powered and correctly connected to the CNC control.
Step 4: Confirm CNC Probe Parameters and Macro Settings
Sometimes the CNC probe is triggering, but the control is not recognizing the signal. This usually indicates a parameter or macro issue.
Check the probe input number in the machine parameters. Ensure the control is monitoring the correct signal. If the input mapping is wrong, the probe will appear inactive.
Review the probing macro as well. Incorrect feed rates, short timeout values, or missing signal checks can prevent proper triggering.
If the problem started after a software update or parameter reset, this step is especially important.
Step 5: Recalibrate the CNC Probe
A probe that triggers inconsistently may require recalibration. Over time, slight shifts in the stylus or internal mechanism affect accuracy.
Run the probe calibration cycle using a reference sphere or calibration tool. Follow the recommended procedure for your machine.
After calibration, test repeatability by probing the same surface multiple times. The results should remain consistent. If they vary, further inspection is needed.
Regular calibration improves both accuracy and trigger reliability.
Step 6: Reduce Electrical and Environmental Interference
If the problem appears intermittently, environmental conditions may be affecting the probe signal.
Check machine grounding. Poor grounding can introduce electrical noise. Ensure signal cables are routed away from high-power lines when possible.
Vibration can also affect triggering. Avoid probing during heavy roughing operations. If necessary, schedule probing cycles after cutting stops.
For wireless systems, interference from nearby equipment may weaken the signal. Repositioning the receiver often improves stability.
Preventing Future CNC Probe Triggering Problems
Preventive maintenance helps avoid recurring issues. Clean the stylus regularly, especially in heavy coolant environments. Inspect cables for wear and replace them before failure.
Avoid using unnecessarily long styli, as they reduce rigidity. Use appropriate probing feed rates to minimize mechanical stress.
Recalibrate the probe periodically, particularly in high-use applications. Consistent maintenance improves reliability and reduces downtime.
When to Seek Professional Support
If the CNC probe still does not trigger after cleaning, checking wiring, confirming parameters, and recalibrating, internal damage may be present. The probe electronics or receiver may require professional inspection.
Repeated failures, delayed signals, or inconsistent triggering usually indicate deeper issues. At that point, contacting the manufacturer or service provider is recommended.
In some cases, upgrading to a newer CNC probe improves reliability, especially in high-frequency machining environments.
Conclusion
A CNC probe not triggering is usually caused by contamination, wiring issues, parameter errors, or mechanical wear. By checking each area step by step, most problems can be resolved quickly.
Regular cleaning, proper calibration, and careful setup help maintain stable probe performance. With consistent maintenance, a CNC probe can deliver reliable measurements and support efficient machining.
